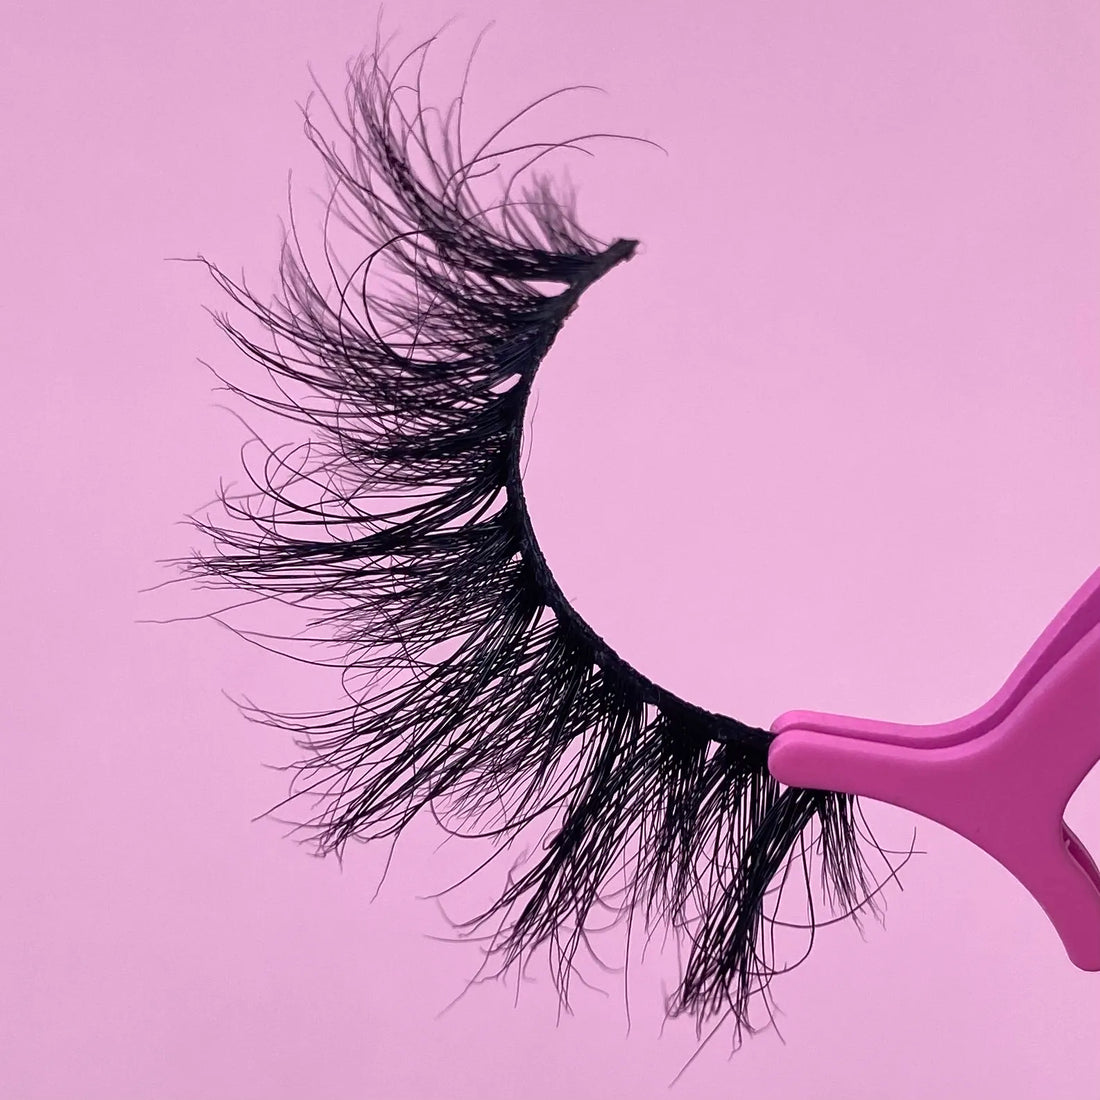
How To Apply False Lashes: 5 Step Guide For Beginners
Master the Art of Lashes with May Nice Lashes
If you've ever felt intimidated by false lashes, you're not alone! But don't worry—applying them is easier than it seems. With a little practice and the right tools, you can achieve a flawless lash look every time. Whether you're new to falsies or looking to perfect your technique, May Nice Lashes has you covered. Follow our simple 5-step guide to apply your lashes like a pro!
Step 1: Trim & Measure
Start by gently removing the false lash from the tray. Hold the lash strip up to your natural lash line to check if it fits comfortably. If the outer corner of the lash extends past your eye, you’ll need to trim it. To do this, use our Flawless Precision Scissors, and trim ONLY from the outer edge. This helps maintain the shape and style of the lash.
If you're not sure how much to trim, don't worry! We recommend using our Lash Ruler to measure your eye length. This handy tool ensures you trim your lashes perfectly to fit your eye shape.
Step 2: Curl Your Natural Lashes
Before applying false lashes, it’s important to give your natural lashes a little lift. Grab your Flawless Precision Lash Curler and curl your lashes upward. This will create a natural-looking blend between your real lashes and the falsies.
Next, apply a coat of your favorite mascara to your natural lashes. This not only helps create a fuller base but also prevents any mascara build-up on the false lashes, ensuring they stay fresh throughout the day.
Step 3: Bend the Lash Strip
This step is key to getting your falsies to fit perfectly. Gently bend the lash strip into a ‘U’ shape. Doing this helps the lashes mold to the natural curve of your eyelid, making them more comfortable and less likely to lift at the corners. This simple trick will keep the lashes from poking your eye, ensuring a smooth, comfortable fit.
Step 4: Apply the Lash Glue
Now it’s time to add the glue! We offer two types of lash adhesives at May Nice Lashes: Brush-On Lash Adhesive and Eyeliner Adhesive. If you're a beginner, we recommend our Clear Lash Glue. The brush-on applicator ensures precise application, and it’s latex-free and water-resistant—perfect for all-day wear.
To apply, brush a thin layer of the glue along the lash band. Wait about 30-40 seconds for the glue to become tacky. This waiting time is crucial as it makes the application smoother and prevents the lashes from sliding around when you place them on your eyelid.
Step 5: Apply the False Lashes
You're almost there! Now it’s time to apply your lashes. Use the Flawless Precision Applicator to pick up the lash strip and place it gently onto the center of your lash line while looking slightly down. This position helps you line the lashes up perfectly with your natural lash line.
Once the lashes are in place, adjust the inner and outer corners using your fingers or the applicator. If you notice any gaps between the lash band and your natural lashes, gently pinch them together for a seamless look. Voilà! You've just applied your false lashes like a pro.
Bonus Tips for a Perfect Lash Look
- Fixing Lash Gaps: If you notice any gaps between your natural lashes and the falsies, you can fill them in with a little eyeliner for a flawless finish.
- No More Lifting: If your lashes tend to lift during the day, apply a small dab of lash glue to the corners and press them down again. The tackiness will keep them in place!
- Lash Removal: At the end of the day, gently remove your false lashes using an oil-free makeup remover or micellar water. Always store your lashes in their original packaging to keep them clean and in great shape for next time.
Conclusion
And just like that, you’ve mastered the art of applying false lashes! With these simple steps, you can enhance your eyes and elevate any look—whether it’s for a night out or a special occasion. May Nice Lashes is here to help you every step of the way with the best lash tools and products designed for beginners and lash lovers alike.
Are you ready to rock that lash look? Let us know your favorite lash style and tips in the comments below, and don't forget to tag us in your lash selfies!
