
The Ultimate Guide to Self-Adhesive Lash Clusters
Everything You Need to Know for Effortless, Everyday Glam
Gone are the days of messy lash glue and long hours at the salon. Self-adhesive lash clusters have become the go-to solution for beauty lovers who want gorgeous lashes—minus the hassle. Whether you’re new to lashes or looking for a faster, damage-free upgrade, this guide will walk you through everything you need to know.
💡 What Are Self-Adhesive Lash Clusters?
Self-adhesive lash clusters are lightweight, pre-cut segments of lashes that come with a built-in adhesive layer. Unlike traditional strip lashes or individual lashes that require glue, these clusters stick directly to your natural lashes or lash line—no additional glue, liner, or magnets needed.
Think of them as the modern lash revolution: easy to apply, ultra-light, and designed for everyday wear.
✨ Benefits of Self-Adhesive Lash Clusters
| Benefit | Why It Matters |
|---|---|
| No Glue Needed | Say goodbye to sticky messes and glue-related irritation. Perfect for sensitive eyes. |
| 3-Second Application | Ideal for busy mornings or last-minute glam. Just peel and press. |
| Natural & Customizable Look | Apply a few clusters for a subtle lift, or go full glam—it's up to you. |
| Reusable | With proper care, most clusters can be reused 3–5 times. |
| No Lash Damage | Gentle adhesion preserves the health of your natural lashes. |
🧴 How to Apply Self-Adhesive Lash Clusters (Step-by-Step)
-
Prep Your Lashes
Clean your natural lashes with a gentle cleanser or micellar water to remove any oils or residue. -
Peel the Cluster
Using tweezers, gently peel a cluster from the tray—starting from the outer corner. -
Placement Matters
Position the cluster under your natural lashes (for a seamless lift) or on top (for a fuller effect). Start from the outer eye and work inward. -
Press & Hold
Press the cluster into place using a lash applicator or your fingers. Hold for 3–5 seconds to secure. -
Customize Your Look
Mix different lengths or stack clusters for a bolder effect. The beauty is in the flexibility!
🔁 Maintenance & Reuse Tips
-
Cleaning: After use, gently remove the lash with tweezers. Use a cotton swab and oil-free remover to clean the adhesive strip.
-
Storage: Place cleaned clusters back in the tray to maintain their curve and cleanliness.
-
Limit Touching: Avoid touching the adhesive strip too much to preserve its stickiness.
-
Avoid Mascara: Mascara can reduce reusability. If needed, apply a light coat to natural lashes before application.
🆚 Self-Adhesive Clusters vs. Traditional Lash Extensions
| Feature | Self-Adhesive Clusters | Traditional Lash Extensions |
|---|---|---|
| Application Time | 3–5 minutes | 1–2 hours |
| Tools Needed | Just tweezers | Lash tech, adhesive, isolation tools |
| Cost | Low (DIY) | High (salon) |
| Maintenance | Easy, no fills needed | Needs fills every 2–3 weeks |
| Lash Health | Non-damaging | May weaken natural lashes over time |
| Flexibility | Wear or remove anytime | Semi-permanent |
📈 Why They’re Gaining Popularity
-
TikTok & IG Trends: Self-adhesive clusters have gone viral for their convenience and transformative results.
-
Post-Pandemic Beauty Shift: More people are opting for at-home beauty solutions that save time and money.
-
Perfect for Lash Beginners: They’re unintimidating and easy to master—even if you’ve never worn falsies before.
💬 Final Thoughts
Self-adhesive lash clusters are more than just a beauty trend—they’re a practical, stylish solution for modern lash lovers. Whether you're rushing out the door or heading to a special event, they give you the freedom to enhance your natural beauty in seconds.
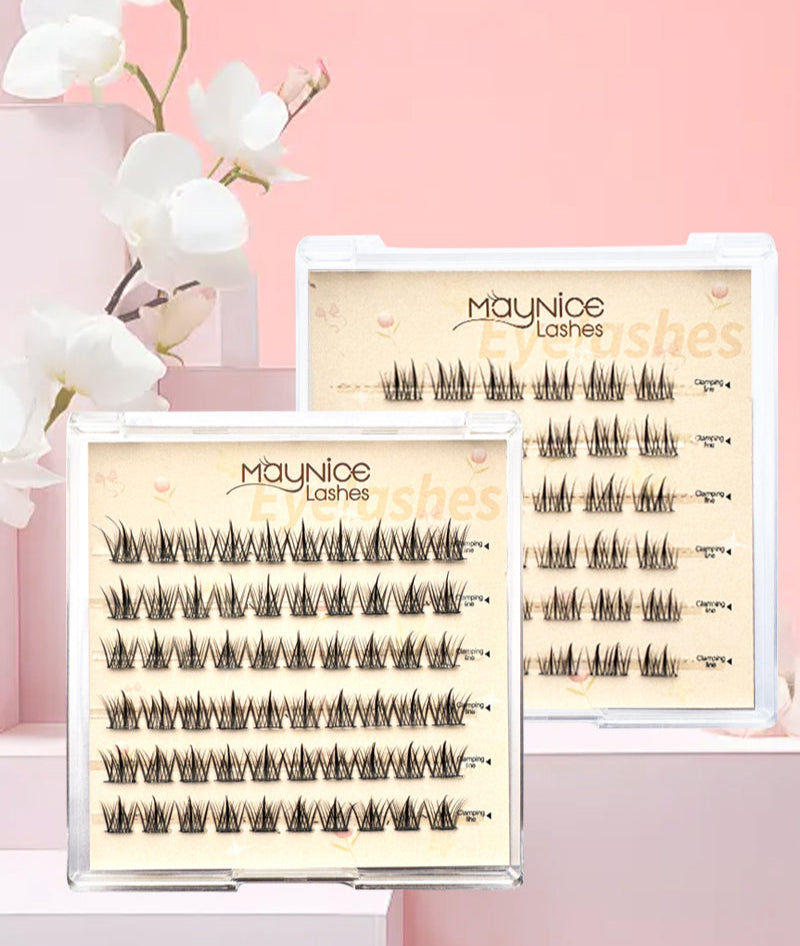
💗 Ready to try them for yourself? Explore our May Nice Self-Adhesive Lash Clusters collection and fall in love with fuss-free glam.